

What we'll be building
A simple Slack app with a bot user that can respond to certain events, like a message matching a specific string or when a new member joins a channel.
Intro - Serverless
Serverless has been a topic of some controversy lately, with the Prime Video team opting to move their stack off Serverless. While their decision does make sense, I'd still argue Serverless has its place for certain types of workloads. Apps that require low initial costs and room to grow fit into this category. Spinning up an EC2 instance to run something like an event-driven Slack App would be less than ideal, plus is way easier to set up than and manually configuring an EC2 instance with everything it needs to handle requests & responses.
Explaining the stack
Serverless with SST
Why SST? SST is a JS framework that ties several AWS services together and allows you to deploy resources straight from your code, plus it has a nice little console to manage the resources you deploy. SST greatly simplifies the dev-deployment cycle of building and deploying Lambda functions, & it's Type Safe out of the box.
Lambda & API Gateway
Lambda is a serverless compute platform that's perfect for building event-driven apps. Lambda only charges for compute while the function is running & can handle concurrent requests. API Gateway makes it easy to build APIs, in this case, it acts as a proxy between Slack & our Lambda function.
Gearing Up - Setting Up an IAM User in AWS
SST requires an AWS user with the necessary permissions to create and or modify resources as needed. Here's how to set up an IAM & user and create an access key.
Step 1
Navigate to the IAM section on the AWS dashboard. Optionally you can search for IAM from the search bar at the top.
Step 2
From the IAM dashboard under Access Management, navigate to Users and create a new user.

Step 3
Set permissions. This is required for access to AWS resources. Set up the IAM user with Admin access, review, and then create user.
Step 4
Navigate to the security credentials tab and create an access key. This access key helps to verify that requests are authorized. It's important to safeguard these keys to prevent unauthorized access to your AWS account. Download your keys to a CSV file after creating them.
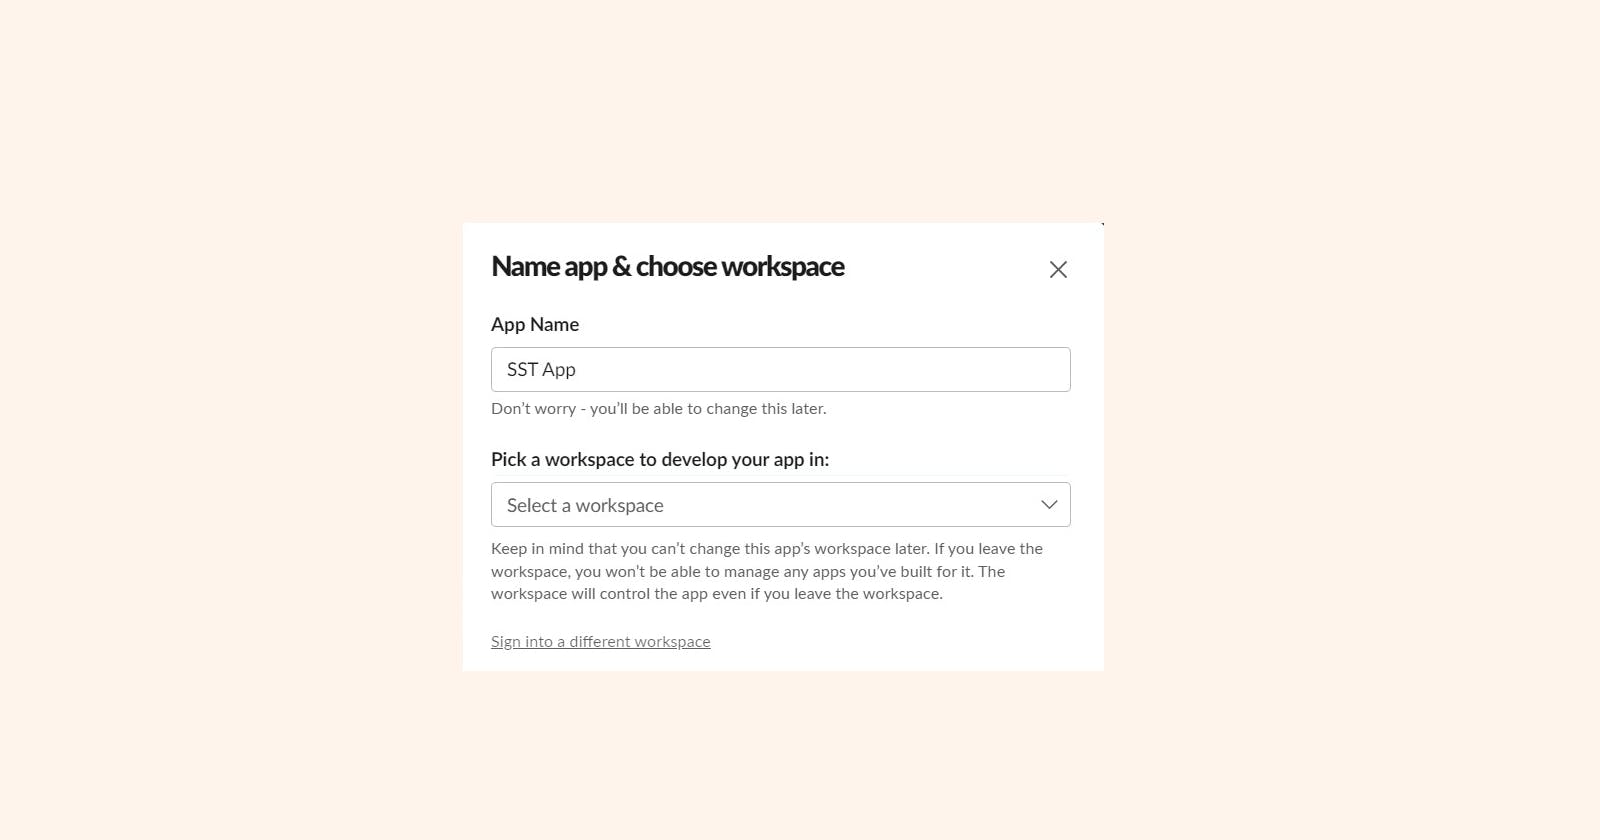
Setting Up A Slack App
Create a new Slack app here. It'll ask for a workspace and will prompt you to create one if you don't already have one.
Slack Access Tokens
Slack Access Tokens allow your app to perform certain functions in your Slack workspace, these tokens authorize your app to do so. Your app can read & write to Slack depending on the Oauth scope available to your app.
Getting Access Tokens
Since we're building a bot we'll generate a bot token and assign some Oauth scopes to it to allow it to read & send messages. You can get a bot token by going to the Oauth & Permissions tab & adding a scope. We need to add the channels:history, chat:write, channels:join , im:history scopes.
Head over to Basic Information in your Slack app dashboard and copy the Slack Signing Secret, we'll need that for later.
Setting up SST
Now for the fun part. Create a new project folder and run npx create-sst@latest my-sst-app from a terminal or command prompt in that directory. SST interfaces with AWS CLI, once you have that set up, it's pretty much plug & play. Learn how to set up the AWS CLI here. Running the command builds provisions a starter we can then build on.
Now we need to create an API for Slack to send requests to. We do that by creating a "stack". Stacks represent specific AWS resources, for this, we'll need an API gateway.
Getting your Slack app to talk to API Gateway
Slack needs to send any requests made by triggering certain events in a workspace. API Gateway receives a payload from Slack and then forwards that request to your Lambda function which will handle processing. Before Slack can send requests we'll need to verify the destination endpoint with a challenge key.
In your project folder, packages > functions > src > lambda.ts paste the following code
import { ApiHandler } from "sst/node/api";

export const handler = ApiHandler( async(event) => {

  const challenge: string = event?.body as string

  const body = {
    ...event,
    challenge,
  }

  return {
    statusCode: 200,
    body: body.challenge
  };
});
Defining Aws Resources In Code
In stacks > MyStacks.ts we define an API with an API Construct.
import { StackContext, Api, Function, EventBus } from "sst/constructs";

export function API({ stack }: StackContext) {
  const api = new Api(stack, "api", {
    defaults: {
      function: {
        environment: {
          SLACK_BOT_TOKEN: process.env.SLACK_BOT_TOKEN as string,
          SLACK_SIGNING_SECRET: process.env.SLACK_SIGNING_SECRET as string
        }
      }
    },
    cors: {
      allowMethods: ["ANY"],
      allowHeaders: ["*"],
      allowOrigins: ["*"],
    },
    routes: {
      "POST /slack/events": "packages/functions/src/lambda.handler",
    },
  });
Here we import the Api construct which is a Typescript class that corresponds to API Gateway. We then define the params of a lambda function & set the environment variables of the function to our Slack secret keys so we can use them in our function.
To start the dev server, run npx sst dev in your terminal then paste the newly created API endpoint in the Events URL field in Slack App settings. We can now paste our newly generated API endpoint in the events tab on the Slack dashboard, verifying our API Gateway endpoint by responding with the Slack challenge key.

Now that we have everything set up, we continue writing the logic for the Slack App. We'll use the @slack/bolt Js package, which gives us access to certain specific methods that'll be very useful. Run npm install @slack/bolt to get the package.
import { APIGatewayProxyHandlerV2 } from "aws-lambda";
import { App, AwsLambdaReceiver } from "@slack/bolt";

// Initialize your custom receiver
const awsLambdaReceiver = new AwsLambdaReceiver({
  signingSecret: process.env.SLACK_SIGNING_SECRET as string,
});

// Create a new Slack app
const app = new App({
  token: process.env.SLACK_BOT_TOKEN,
  receiver: awsLambdaReceiver,
});

//Listen for message events
app.message('hello', async ({ message, say }) => {
  await say(`_Who's there?_`);
});


export const handler:APIGatewayProxyHandlerV2 = async (event, context, callback) => {
  const handler = await awsLambdaReceiver.start();
  return handler(event as any, context, callback);
};
new AwsLambdaReceiver connects the Slack app to the lambda function with our Slack signing secret from earlier. Then we create a new app with our Slack Bot Token & set the receiver to the Aws Lambda Receiver. We attach a listener to our app that'll respond with a message whenever we send a message that matches a string.
Responding to a channel join event
Using the bolt library, listening and responding to events is quite straightforward. Using app.event and passing in the string of the event, your app can respond to events as needed. Below the app.message code block, add the code below to respond with a message when a new user joins a channel.
app.event('team_join', async ({ event, client, logger }) => {
  try {
    // Call chat.postMessage with the built-in client
    const result = await client.chat.postMessage({
      channel: 'channelIdString',
      text: `Welcome, <@${event.user.id}>! Great to have you onboard.`
    });
  }
  catch (error) {
    logger.error(error);
  }
});
Cleaning up
To remove resources created by SST, run npx sst remove . Lambda functions don't incur charges while running but you can still choose to delete functions & other associated resources not in use.